


Adding the same old WordPress in shared hosting is too boring, let us try deploying your dynamic angular application.
We can deploy our web apps in a shared hosting for a starter. We can move to large VPS hosting once we get the hang of the app and have a good budget.
Step 1:
Create your new angular application on your desired folder using the below command.
ng new AppName
Now wait for a few seconds the app will get created. Don’t forget to enable the routing option, because we are going to see a very common issue.

angular route selection
Step 2:
Now create some components using ng g c componentName to test our routing issue.
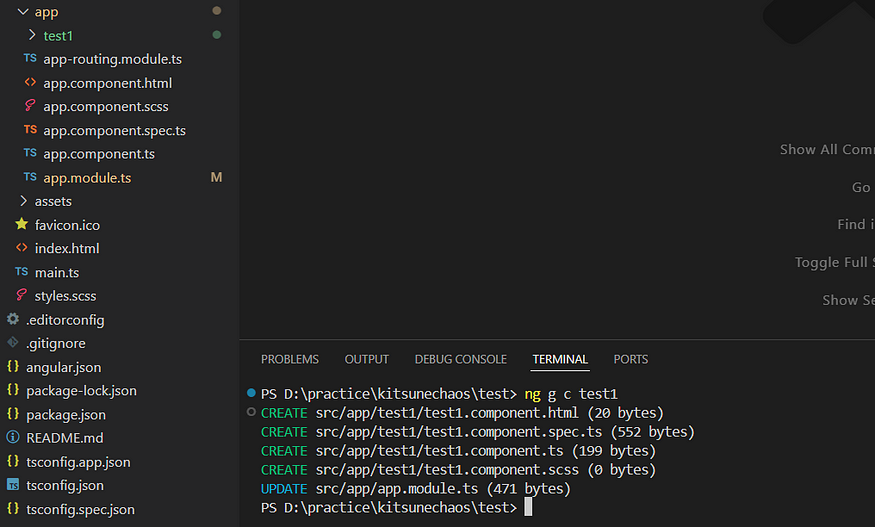
test component
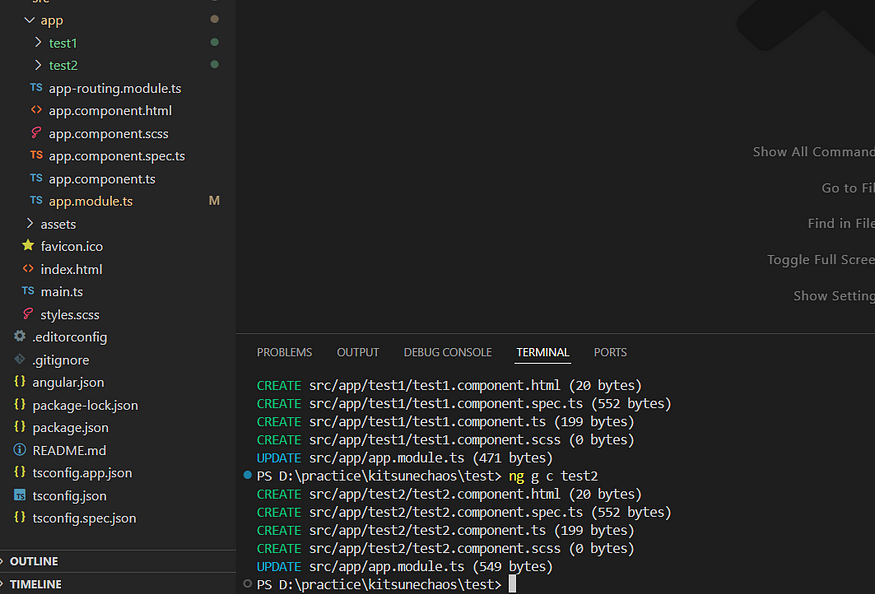
test component
Step 3:
Since you opted for the routing feature, you have the app.routing.ts file (/src/app/app-routing.module.ts)
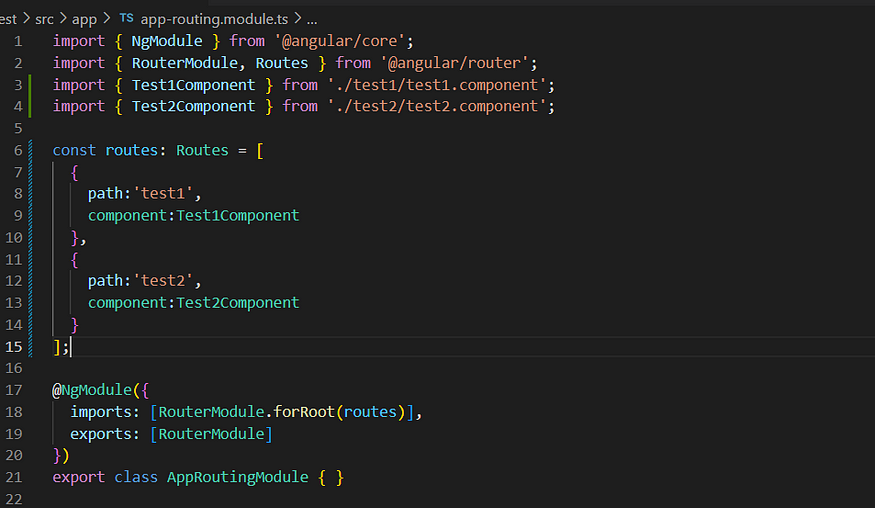
app-routing.module.ts
There you add some routes as below using your newly created components.
Replace your app.component.html file content with the below one.
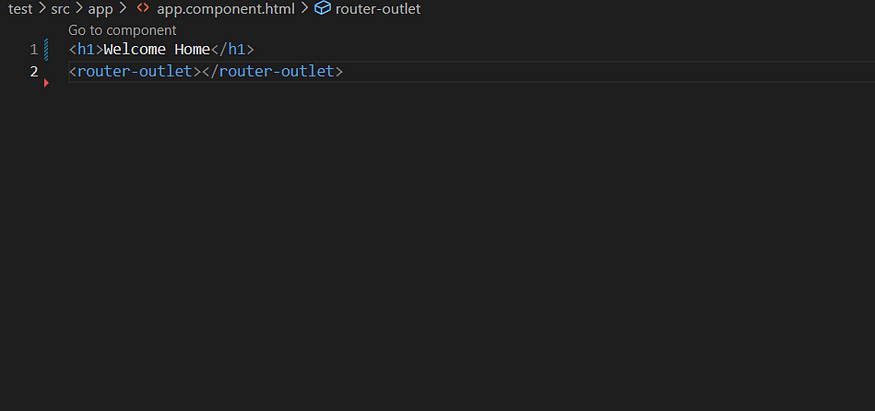
app.component.html
Step 4:
Now move on to the app.module.ts file and add the path strategy details.
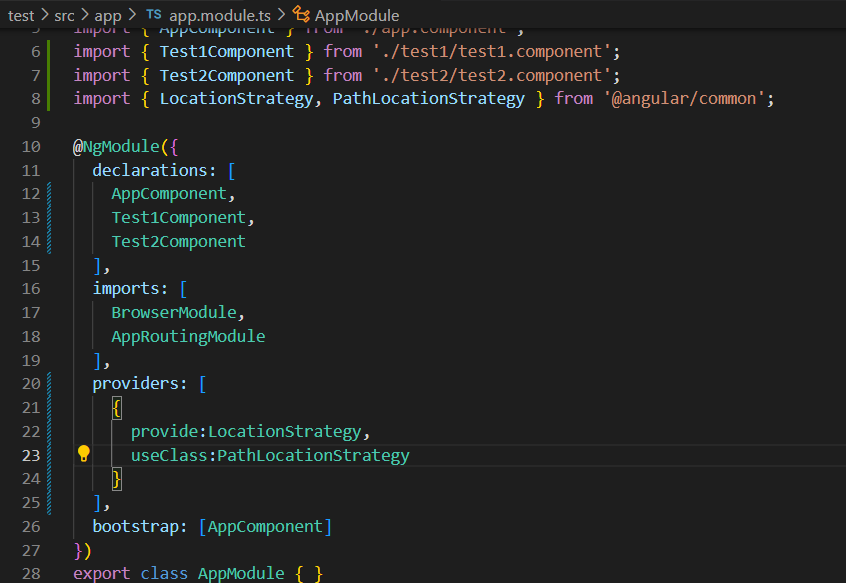
app.module.ts
Step 5:
All our coding sessions are over now build your application using the below code.
ng b -c=production
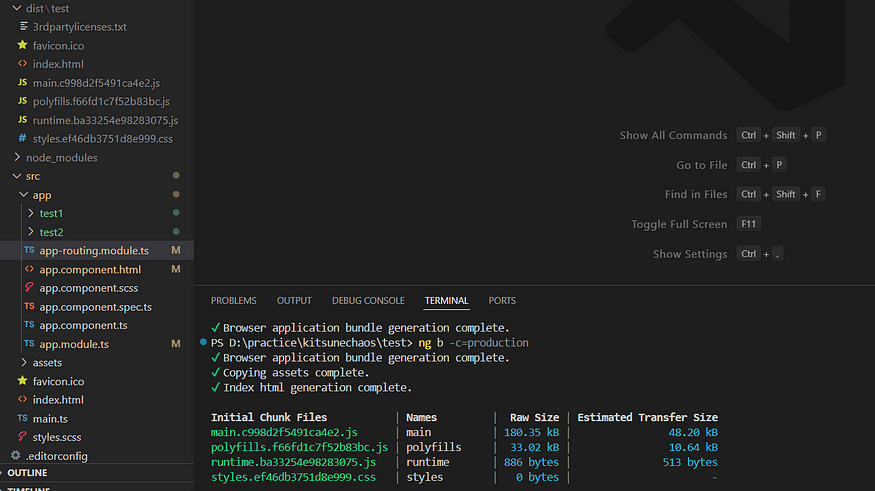
dist folder
It will create some build files in the dist folder at the root of your project.
Okay, let's review before moving to the server side. We created our angular app with some components. Some sample components are created and different route paths to them. For a better experience, we added the path location strategy into the system.
For this example session, I created a free domain using Infinity Free hosting. It provides a free domain and hosting plan enough for testing our demo application.
Step 6:
I created my domain, and it also provides free cpanel, MySQL, and more. Forgot about other fancy options, we are going to use file manager in CPanel
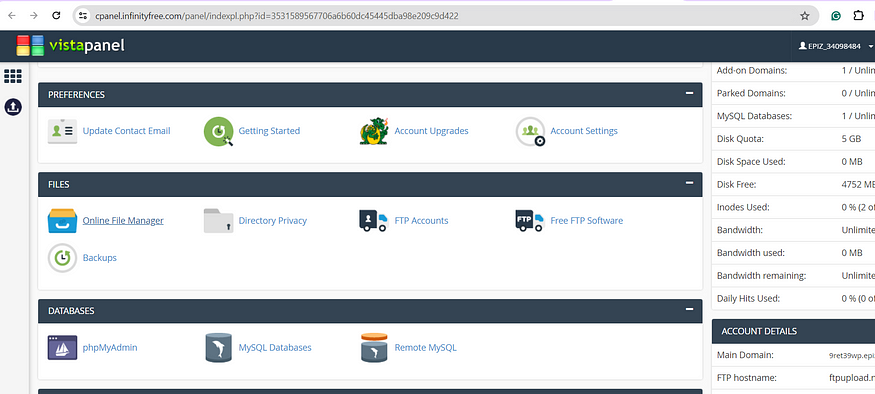
cpanel infinity free
Step 7:
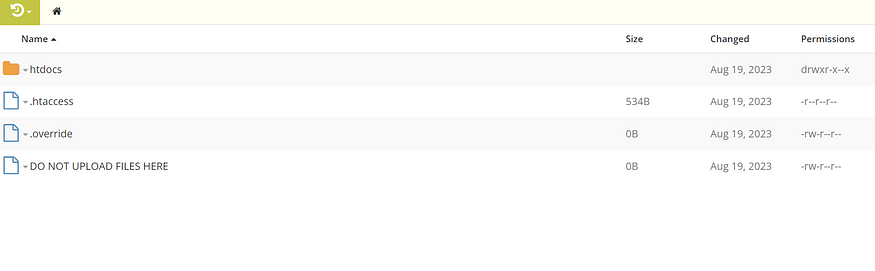
online file manager infinity free
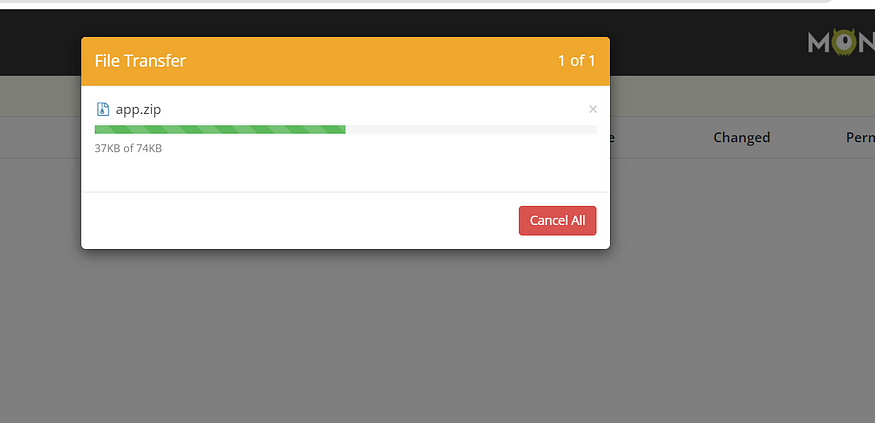
Now compress the files as zip in the dist/test folder and upload that in your htdocs folder. If you’re using a subdomain then upload this zip file into the subdomain root.
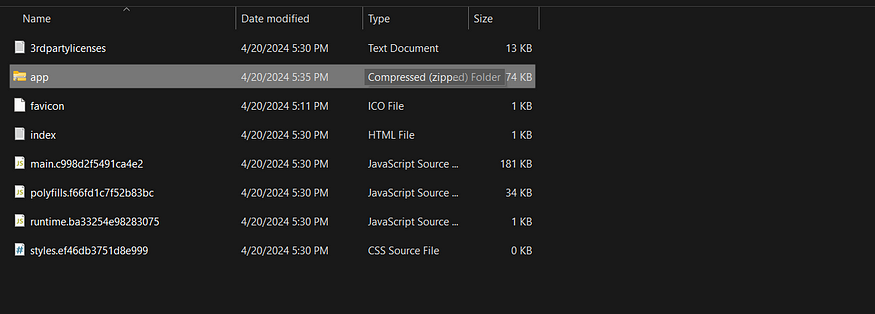
build zip file
Once the zip file is successfully uploaded, extract those files that's all.
Step 8:
Now check the domain you can clearly see our app’s home page but there’s an issue if you reload this home page or try to enter our component routes test1 or test2 it will throw a 404 error.
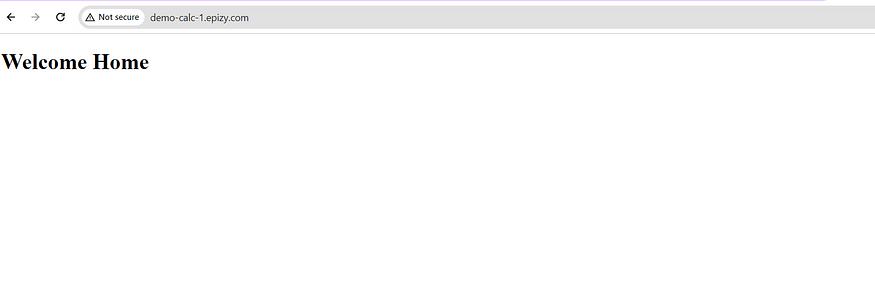
home page
Because the Apache server doesn’t know the angular app’s internal routes. We can overcome this issue by creating the .htaccess file.
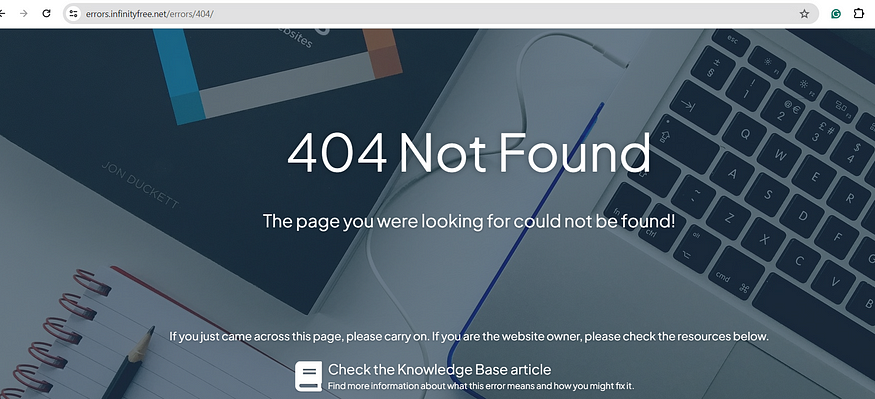
error while component routing
Step 9:
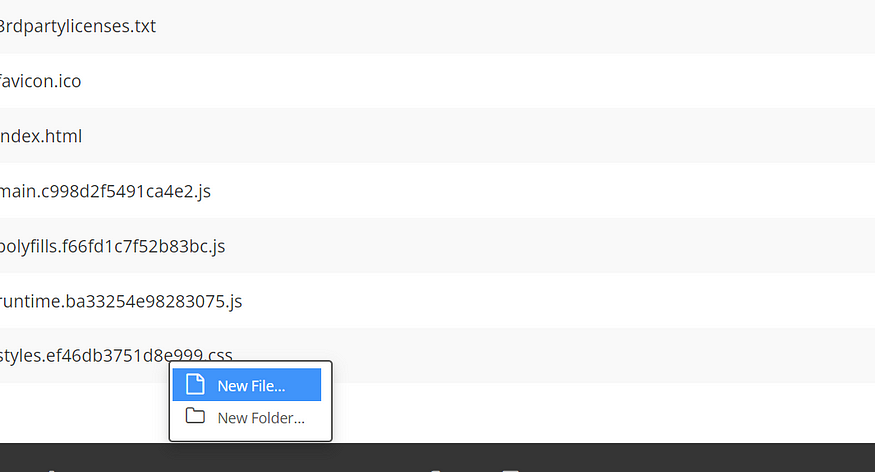
create new .htaccess file
Create a .htaccess file in the root folder where all the angular build files are present. Add the below code into it and save changes that’s all now your angular app routes like a charm.
#htaccess to switch the angular reload errors
<IfModule mod_rewrite.c>
  RewriteEngine On

  # Redirection of requests to index.html
  RewriteCond %{DOCUMENT_ROOT}%{REQUEST_URI} -f [OR]
  RewriteCond %{DOCUMENT_ROOT}%{REQUEST_URI} -d
  RewriteRule ^.*$ - [NC,L]
  # Redirect all non-file routes to index.html
  RewriteRule ^(?!.*\.).*$ index.html [NC,L]
</IfModule>
Now the Apache knows the routes are handled by angular and its 404 redirection is suppressed.